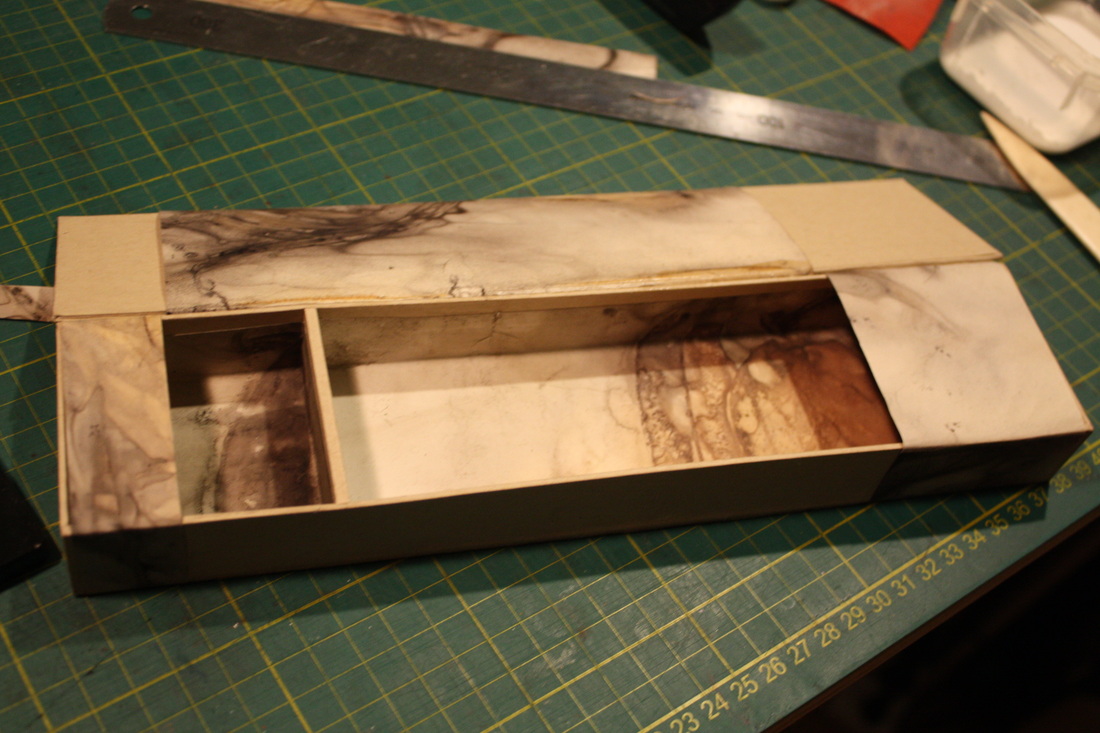
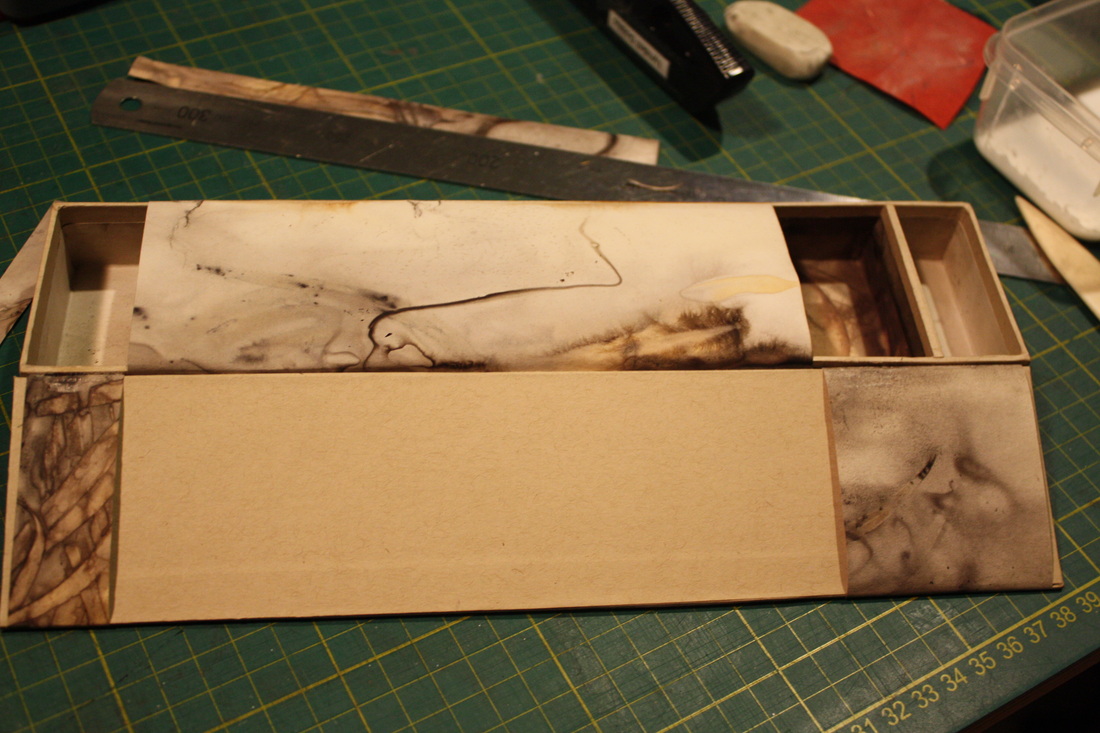
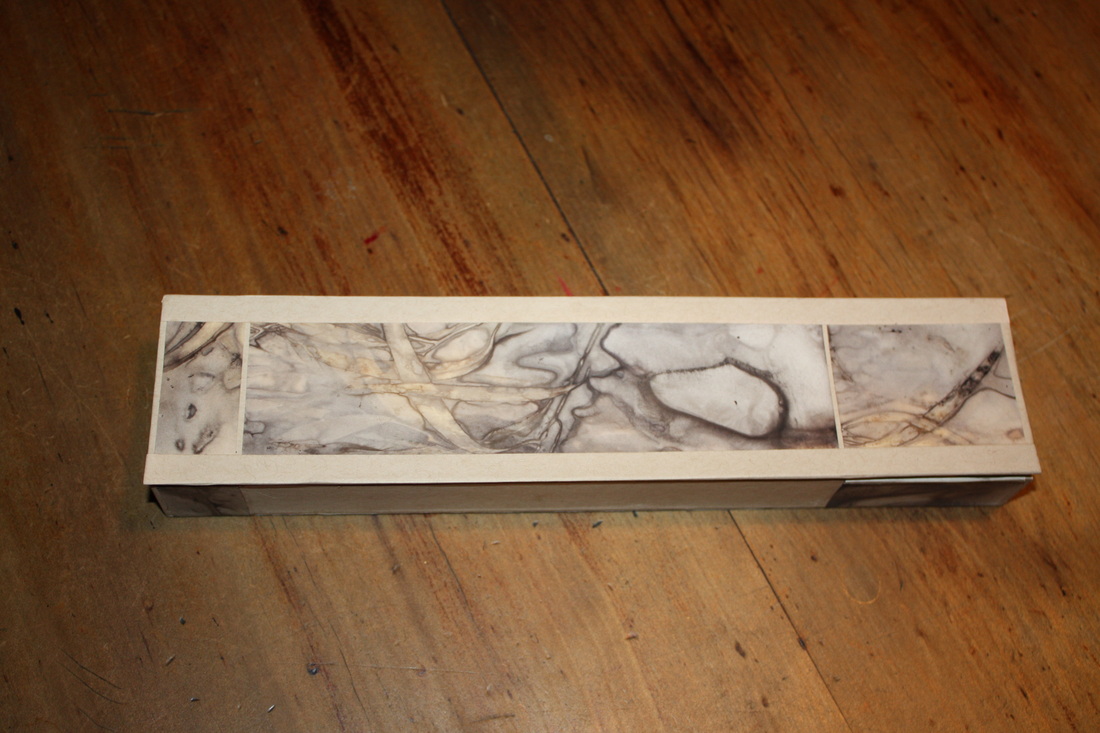
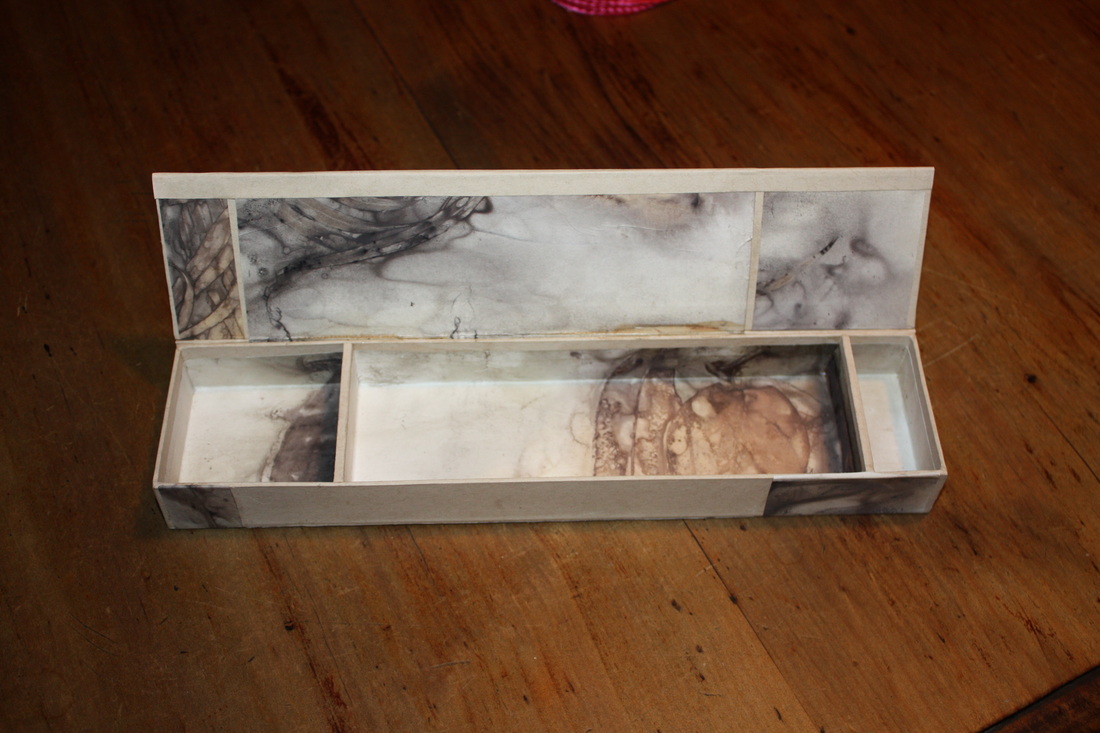
The author is Mari Ono, the subtitle is 24 Unique Oriental Projects, and was published in 2011. The project that caught my eye was the Tsunokobako Box. This is a traditional origami design for holding sweets or trinkets. It is described as being so simple a small child could make it. Maybe it is because I am not a small child that I found initially it was very difficult.
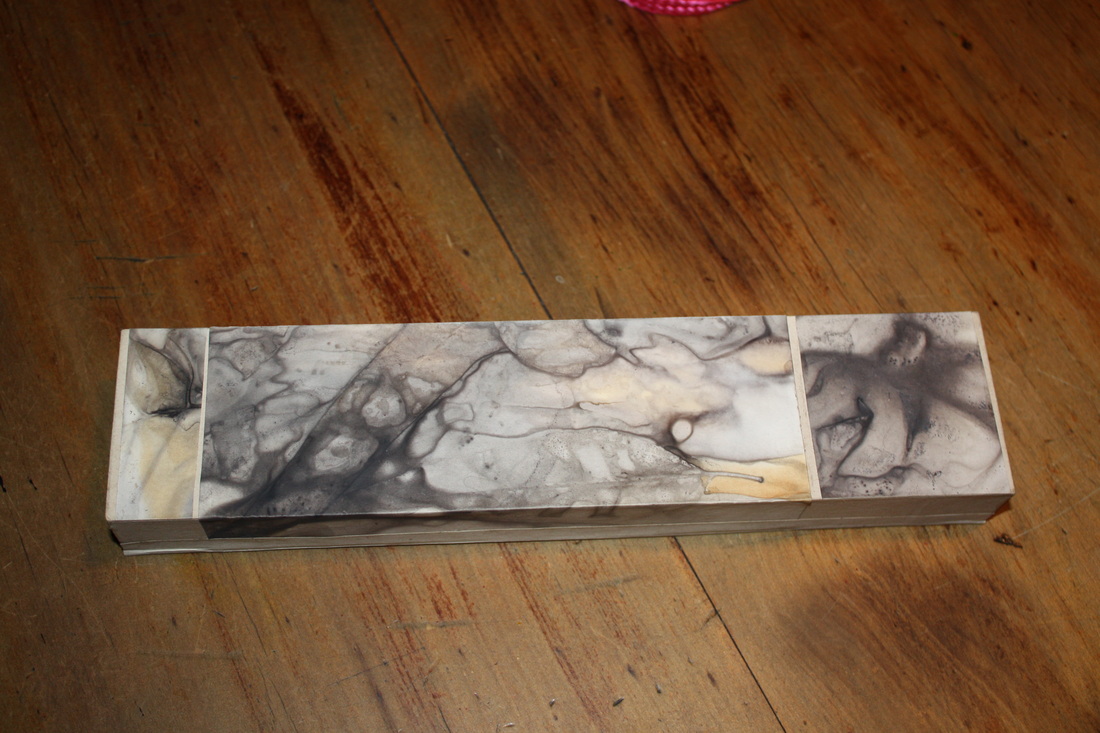
I made mine out of eco printed paper and then put into it some of the stones I had made when experimenting with lettering on stones.
I made mine out of eco printed paper and then put into it some of the stones I had made when experimenting with lettering on stones.